Using Google as an Identity Provider
Created on 2023/03/06,Category:
Add a Google Connector
Create a Google Application for OIDC
References
Default values
| name | value |
|---|---|
| Issuer/Provider | https://accounts.google.com |
| redirect_uri | https://your-cells.com/auth/login/google/callback |
Step 1
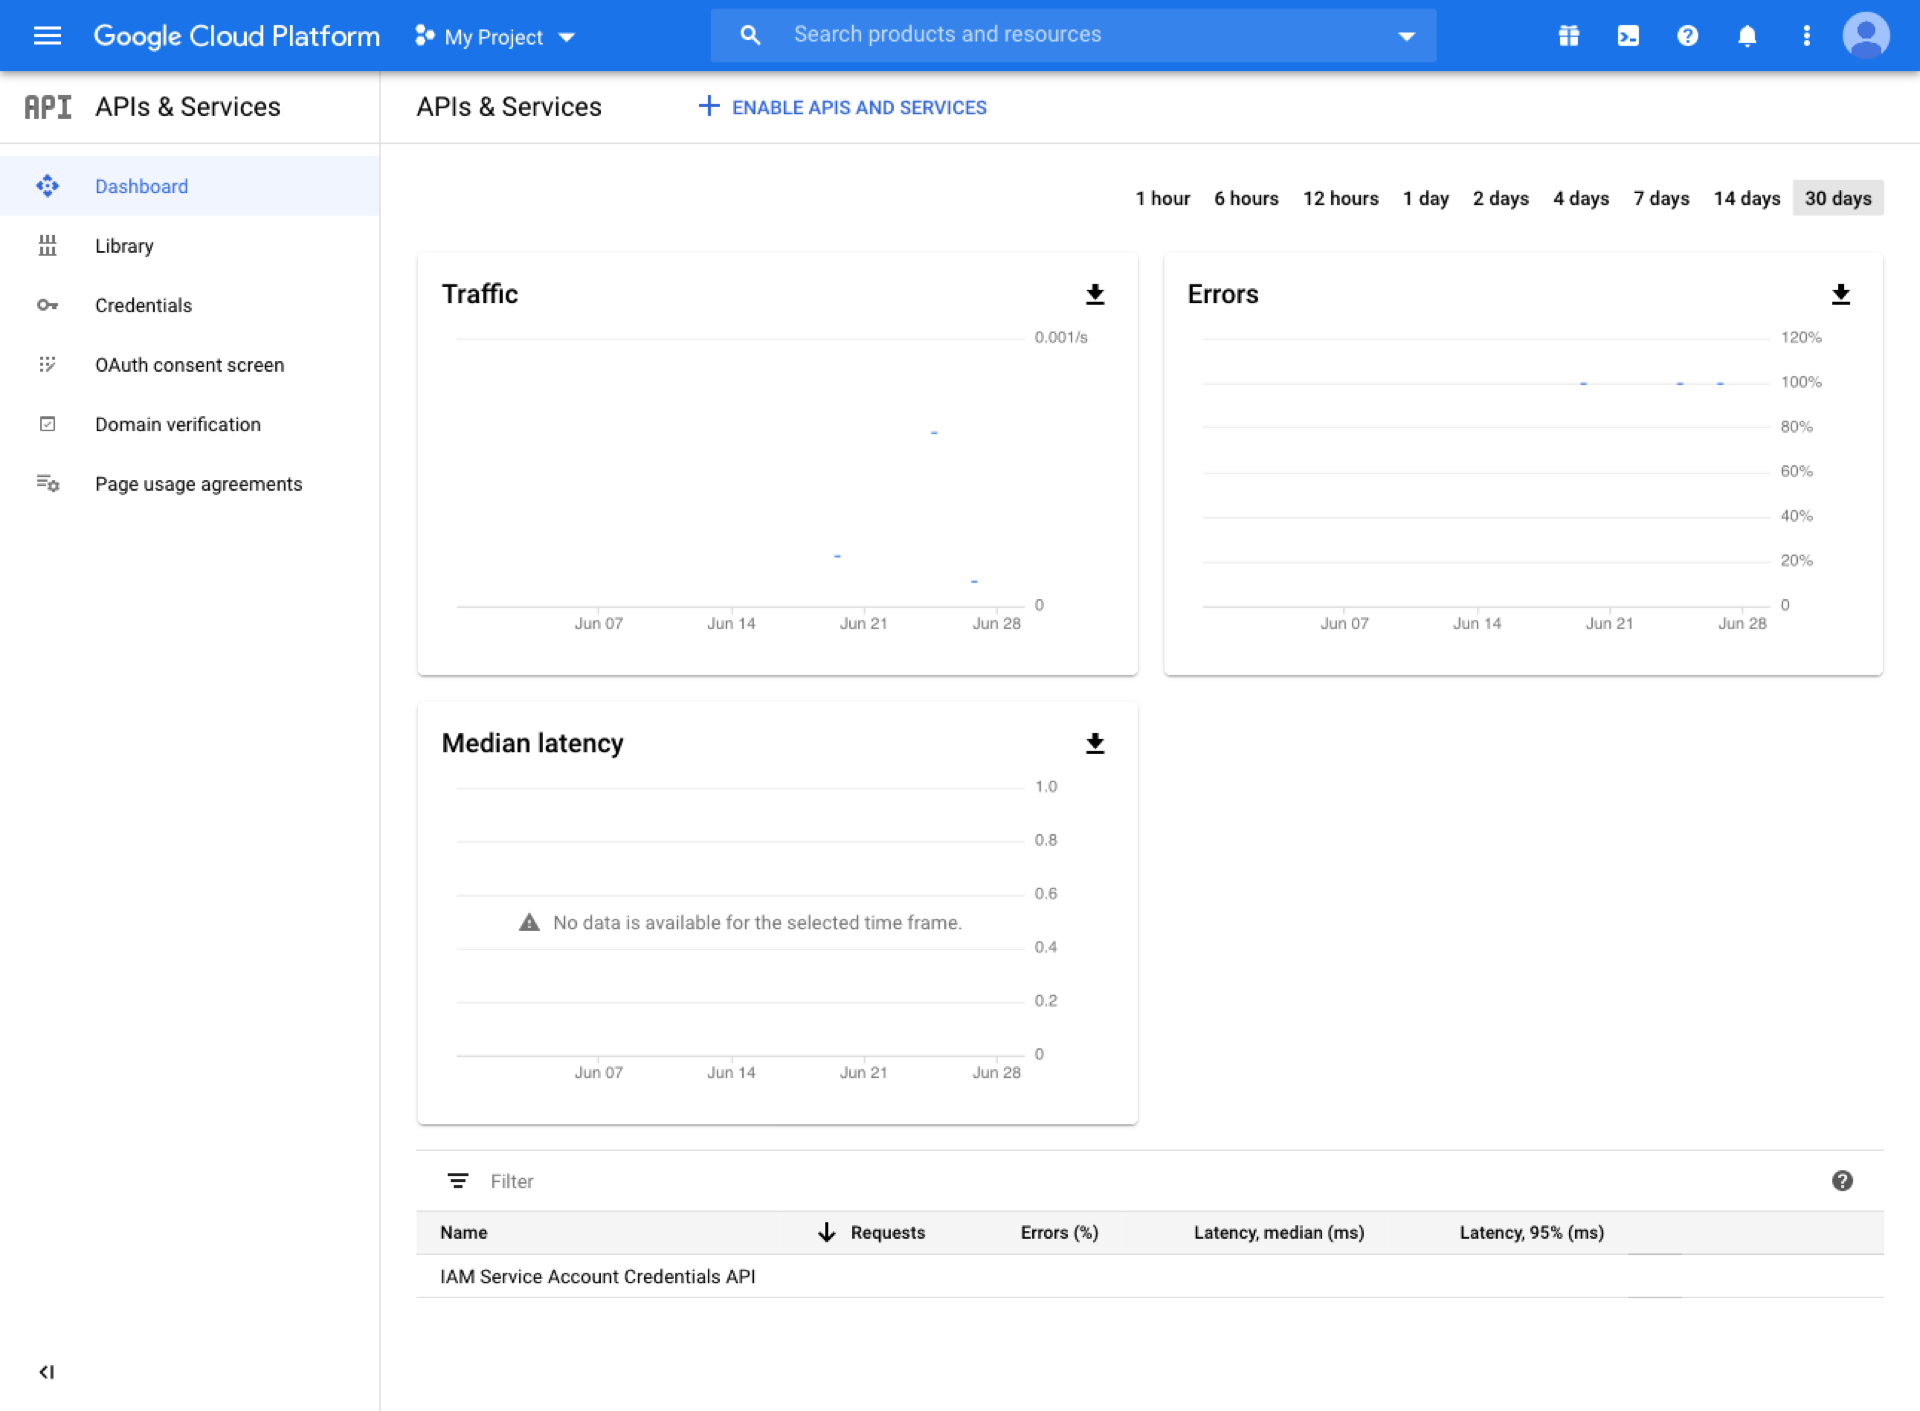
Visit https://console.cloud.google.com/,
- Go to APIs & Services.
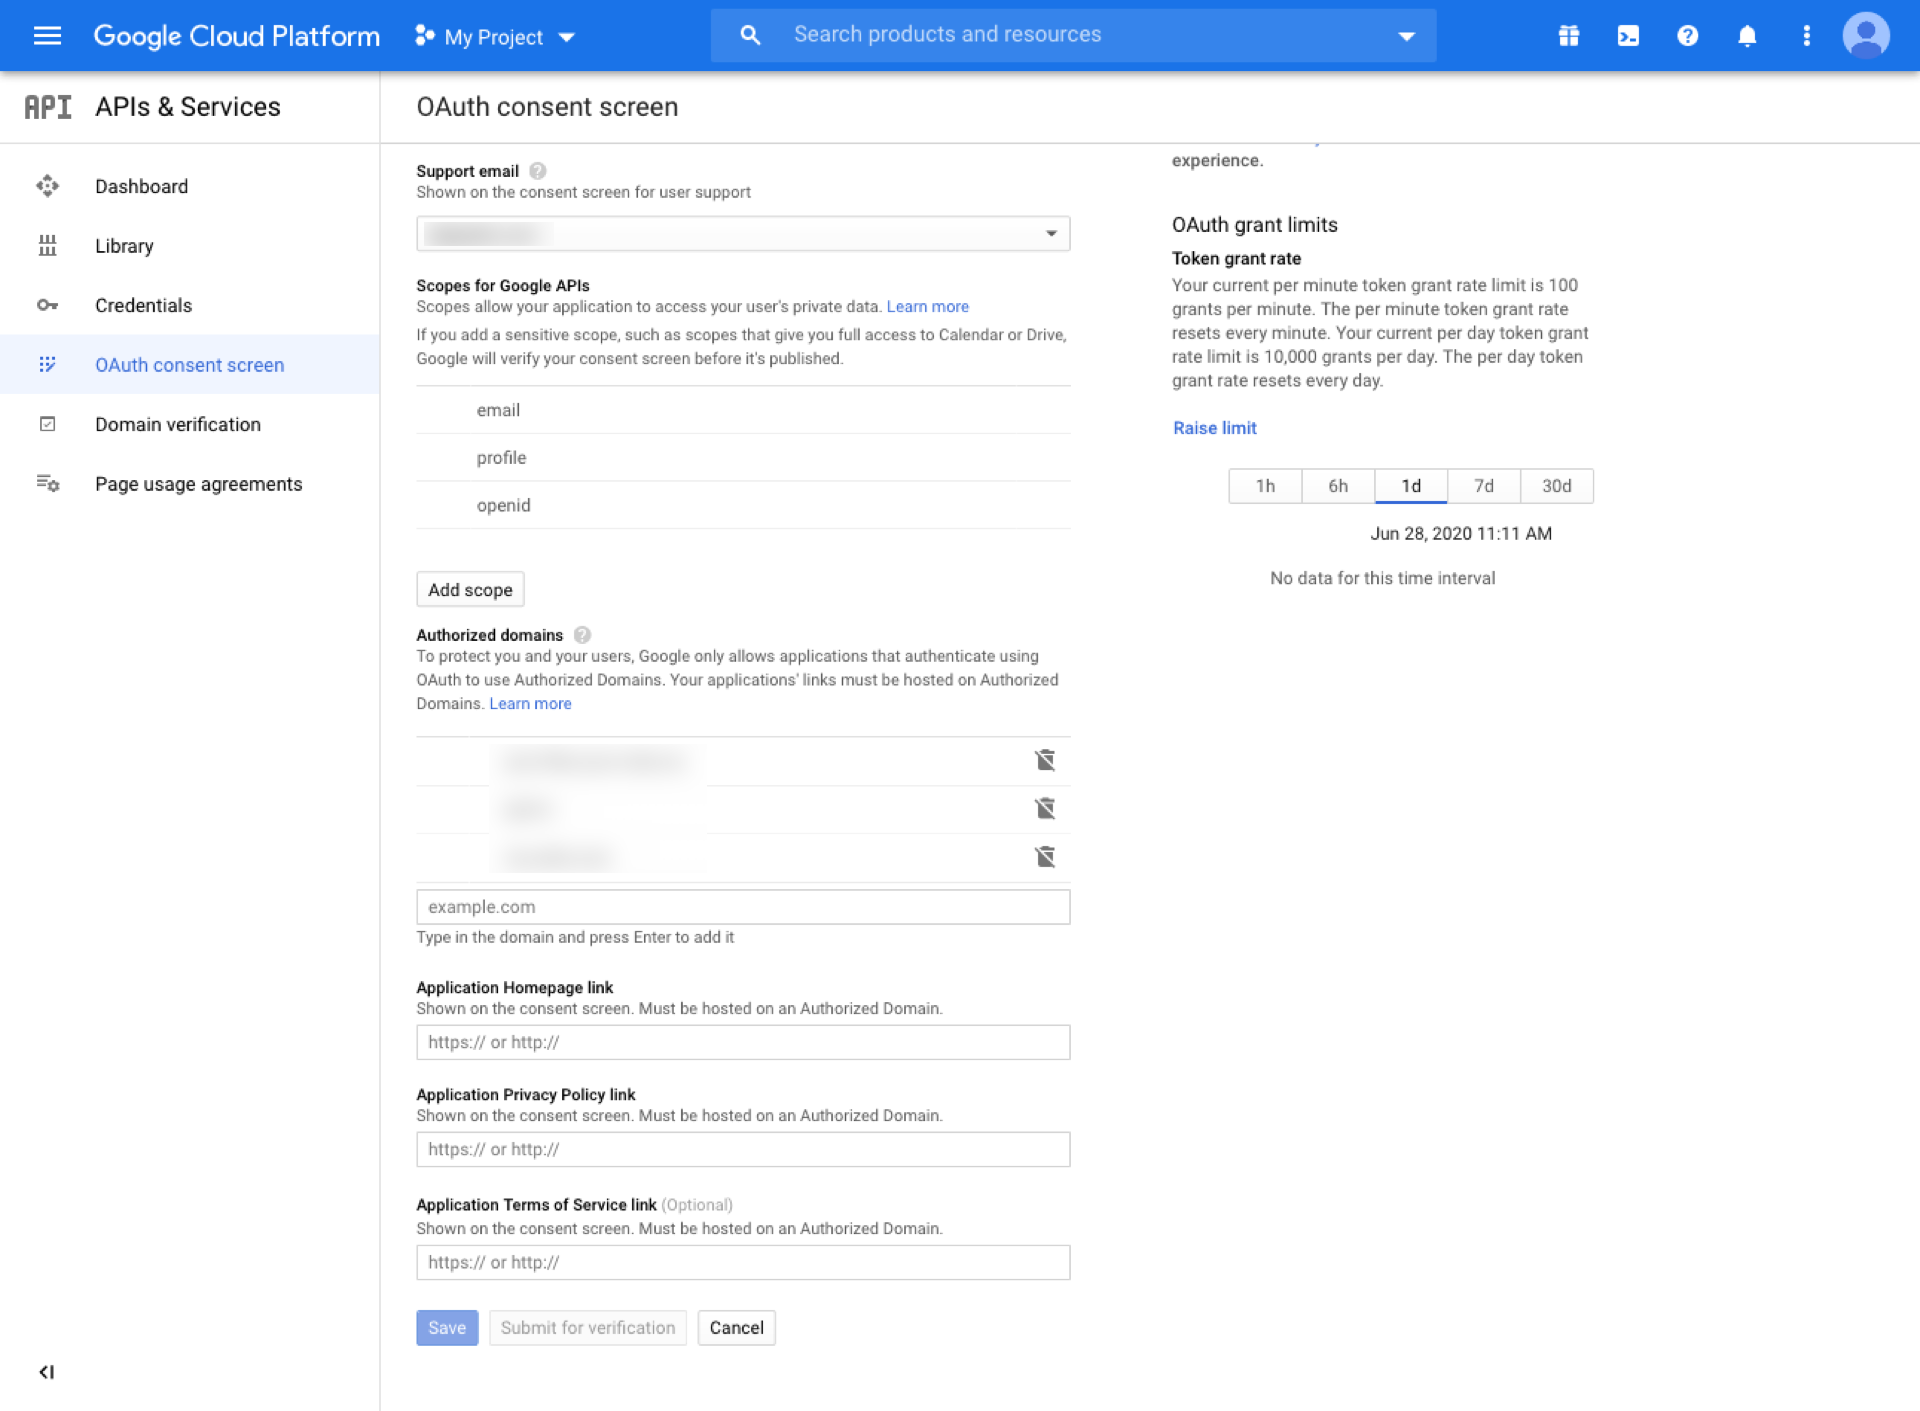
- Then browse to OAuth consent screen
And set the following fields:
- Application name: name your application
- Authorized domains: add your Pydio Cells instance domain
- Hit Save
Step 2
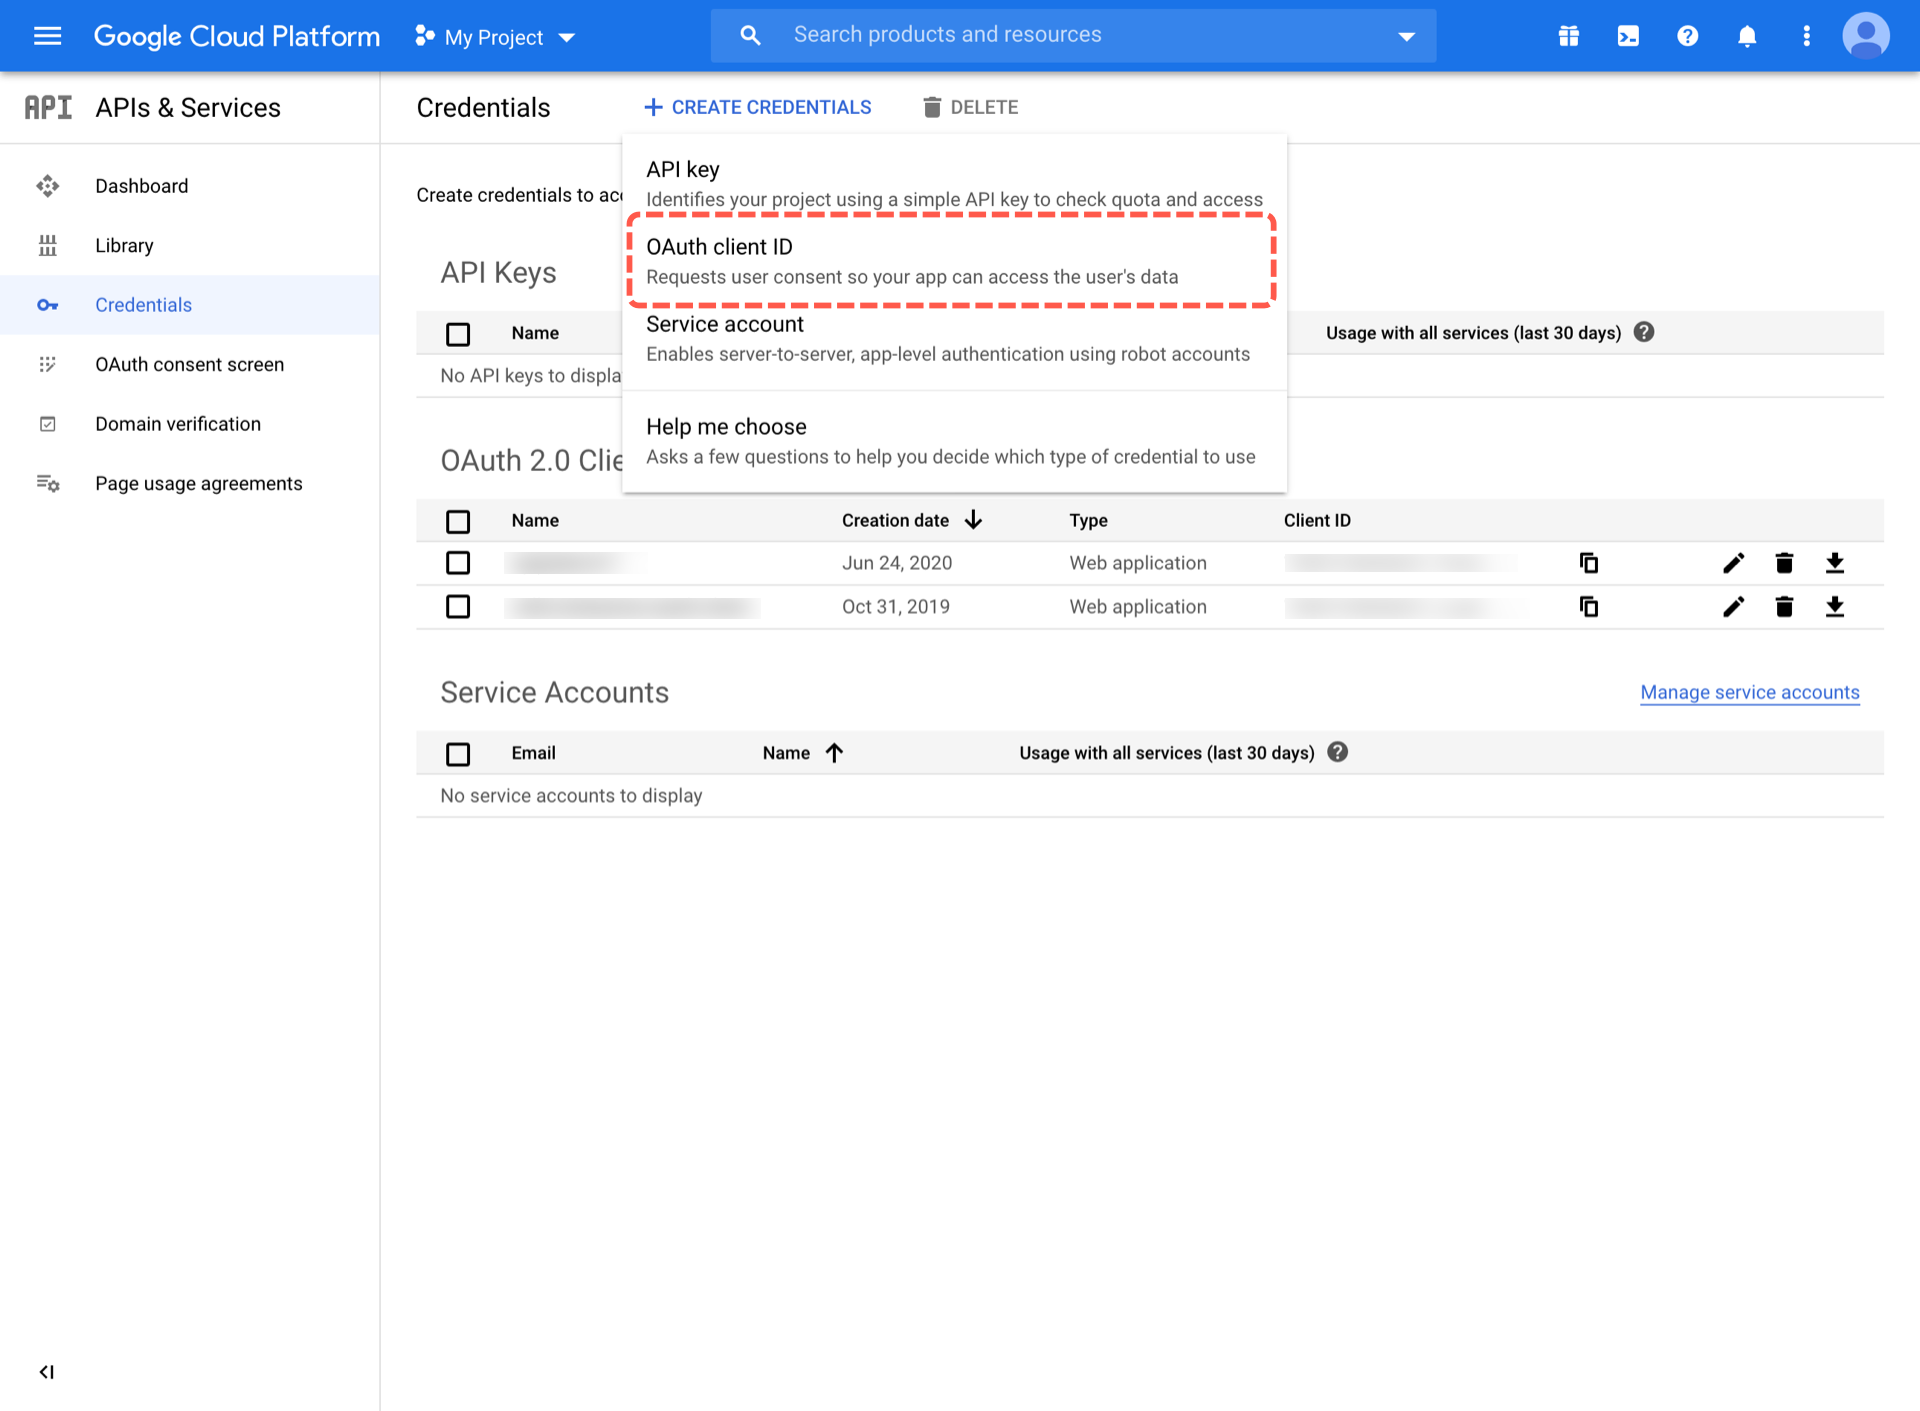
Then head to Credentials
Click on Create credentials
Select OAuth client ID
Application Type : Select Web Application
- Press Create
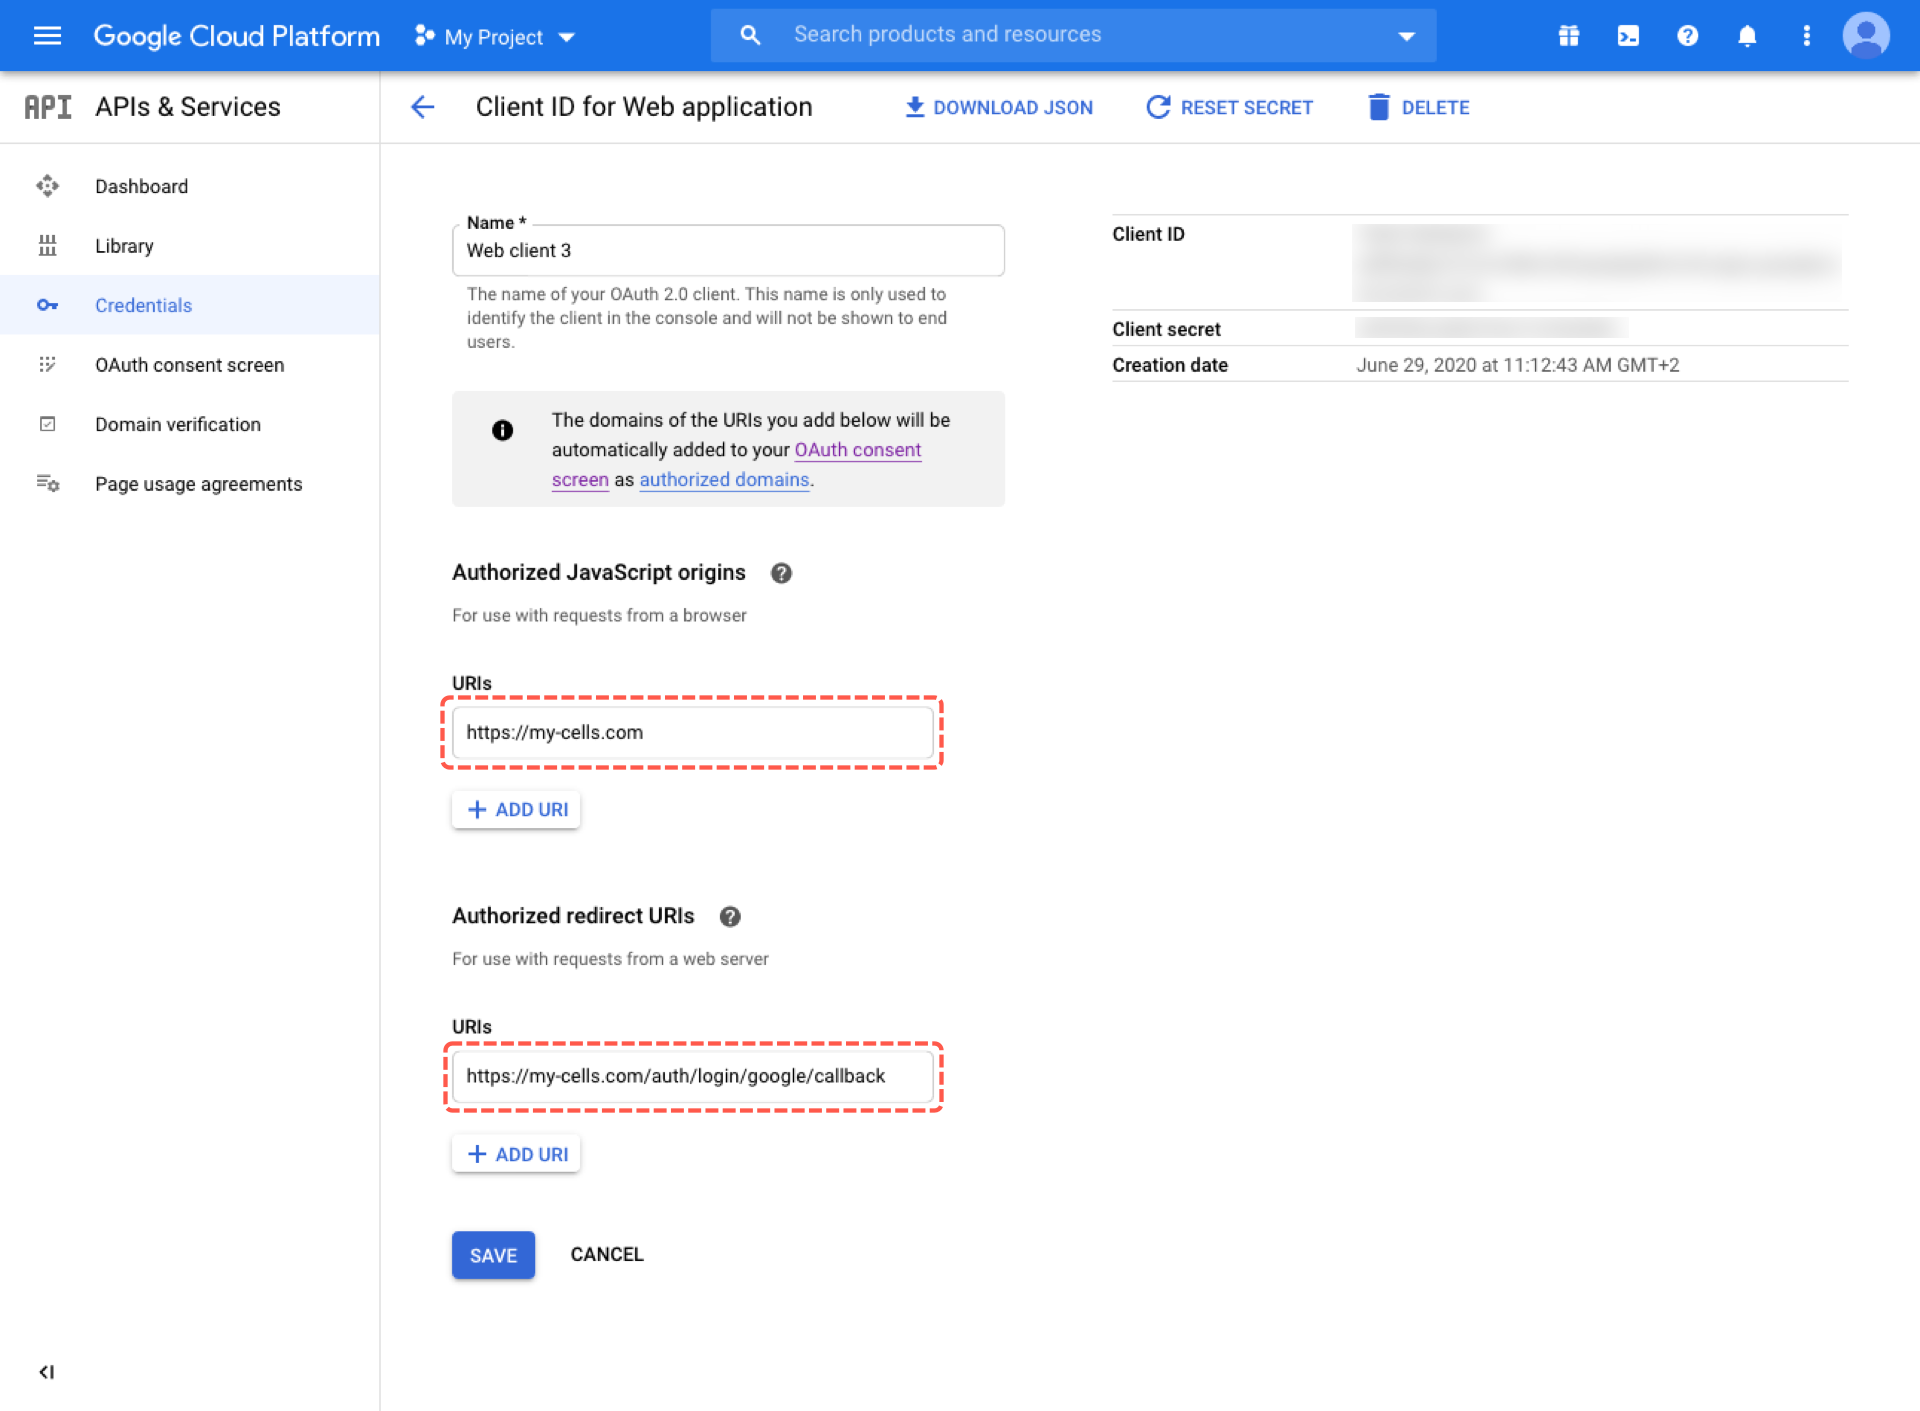
Last step, name your app (make sure to remember your ID and Secret) :
- Authorized JavaScript origins: Add your Pydio Cells url.
- Authorized redirect URIs: add a redirect url such as
https://my-cells.com/auth/login/google/callback, add at the end of your Pydio Cells URL /auth/login/callback (this is the endpoint).
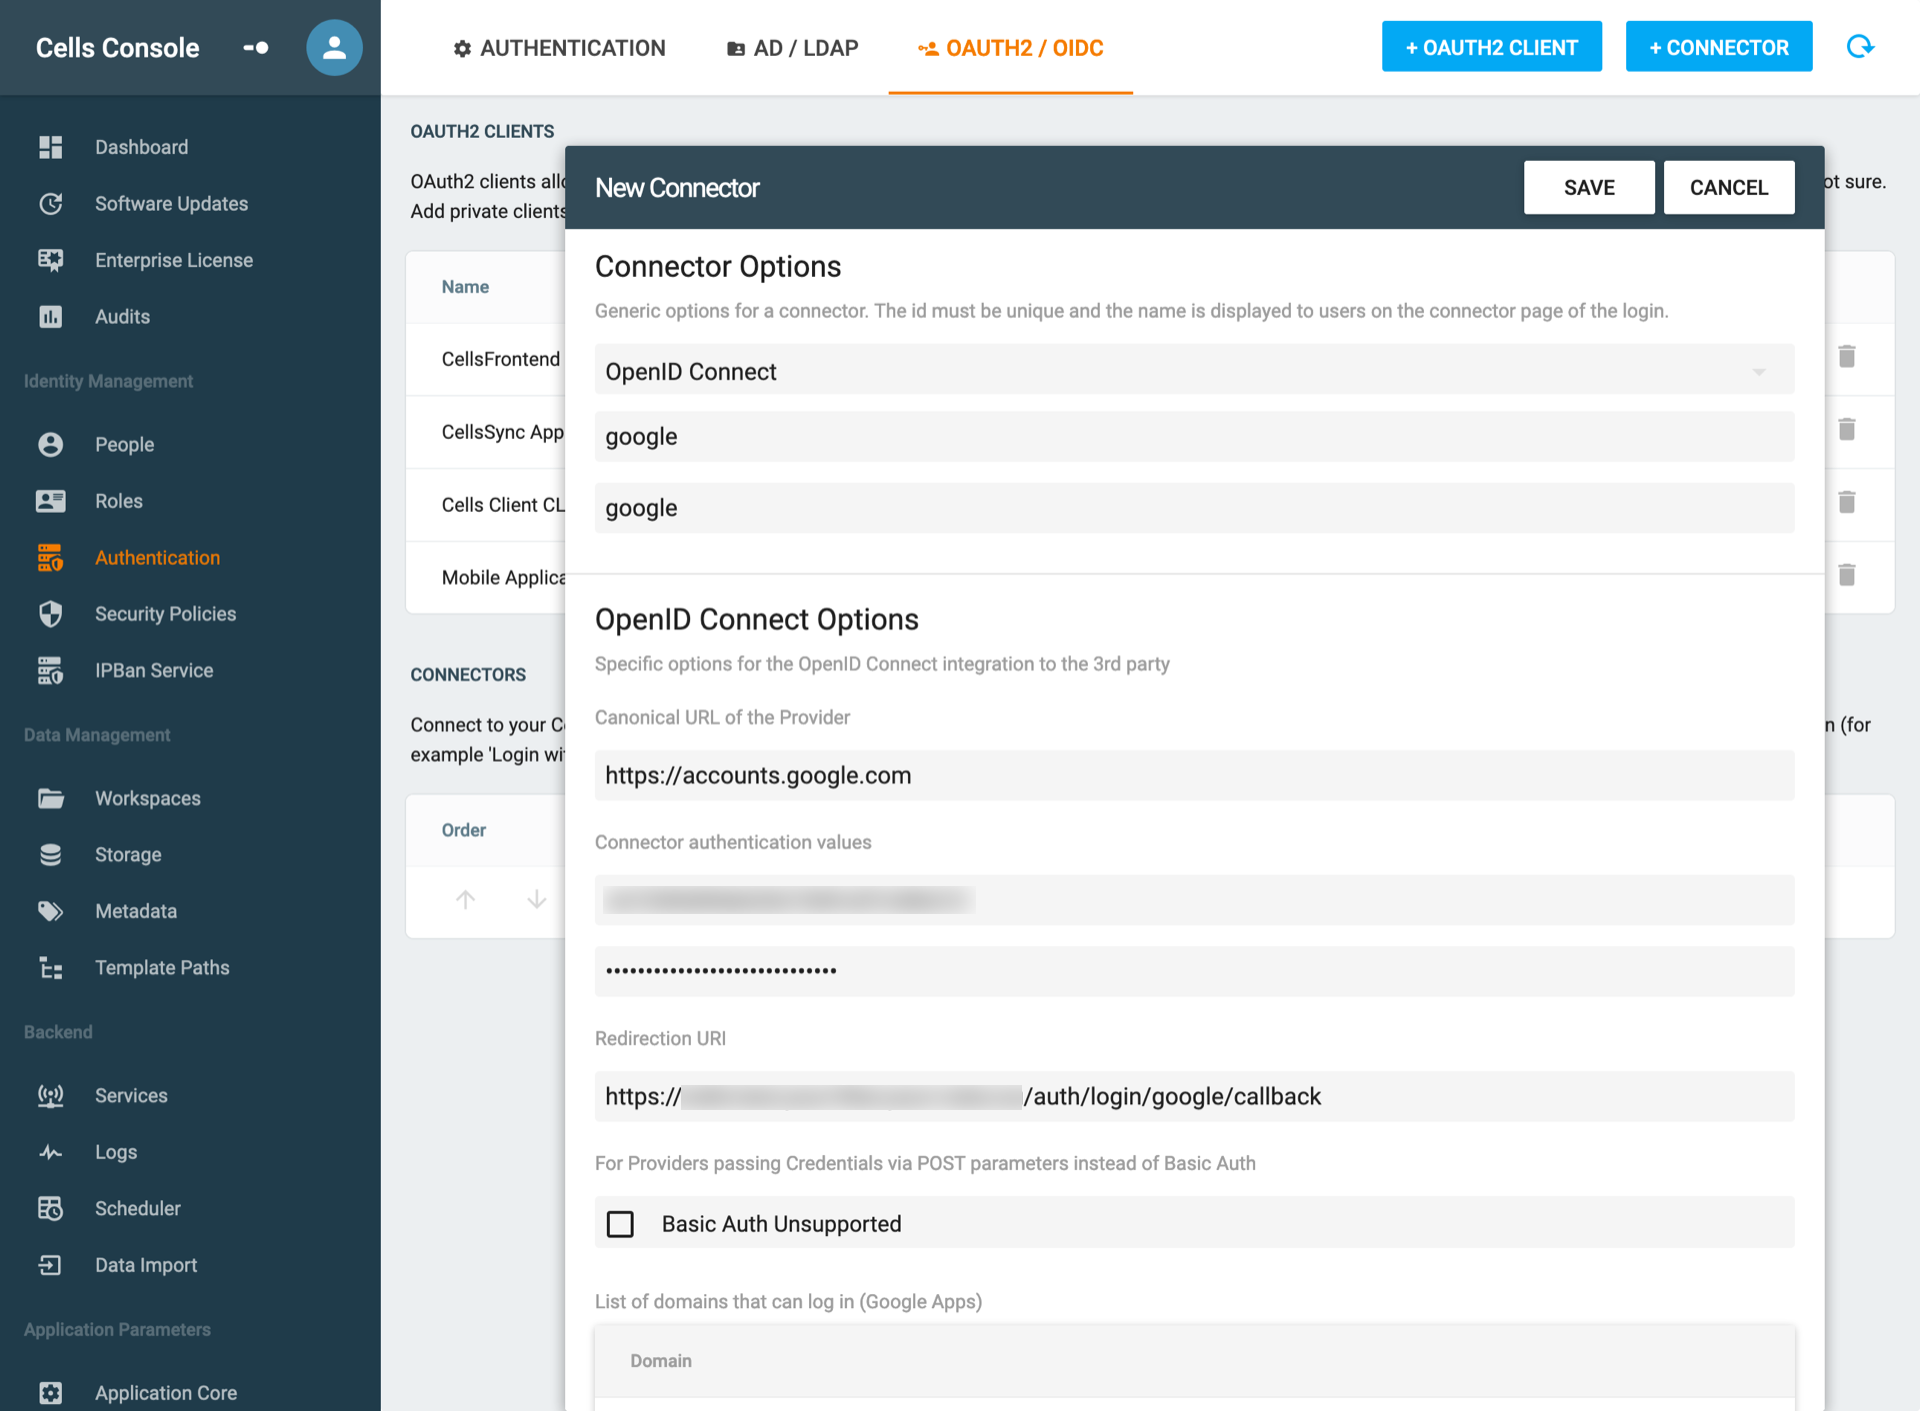
Create a Google Connector in Cells
In your Pydio Cells instance go to Cells Console > Authentication > OAUTH2/OIDC > + Connector.
- Select OpenID Connect
- give it a label (name)
Then set the following parameters:
- Canonical URL of the Provider:
https://accounts.google.com - Client ID: your previously fetched client ID
- Client Secret: your previously fetched client Secret
- Redirection URI: the same URI that you have set during the google app creation.