[Ent] Only Office
ONLYOFFICE is a multifunctional portal for business collaboration, document and project management. It allows you to organize business tasks and milestones, store and share your corporate or personal documents, use social networking tools such as blogs and forums, as well as communicate with your team members via corporate IM.
It supports all type of formats such as DOC, DOCX, PPT, PPTX, XLS, XLS, ODF, ODS, ODP and also has the best support of Microsoft editors features like Word, Powerpoint, Excel and so on.
Install and enable Only Office Plugin in a running Cells Enterprise Distribution instance
Get your ONLYOFFICE instance
You can download ONLYOFFICE directly from their offical website. To understand the differences between various editions and their respective features, please consult the comparison page.
ONLYOFFICE docker image
For a quick start, you can use the official ONLYOFFICE docker image: yet this image only offers the features of the community edition.
Simply run:
docker run -i -t -d -p 9980:80 -e JWT_ENABLED=false --restart=always onlyoffice/documentserver
Note that to avoid collision with the main entry point of your Cells Server, we bind the container default port (80) to another free port. In this document, we use port 9980 as an example.
Enable the plugin
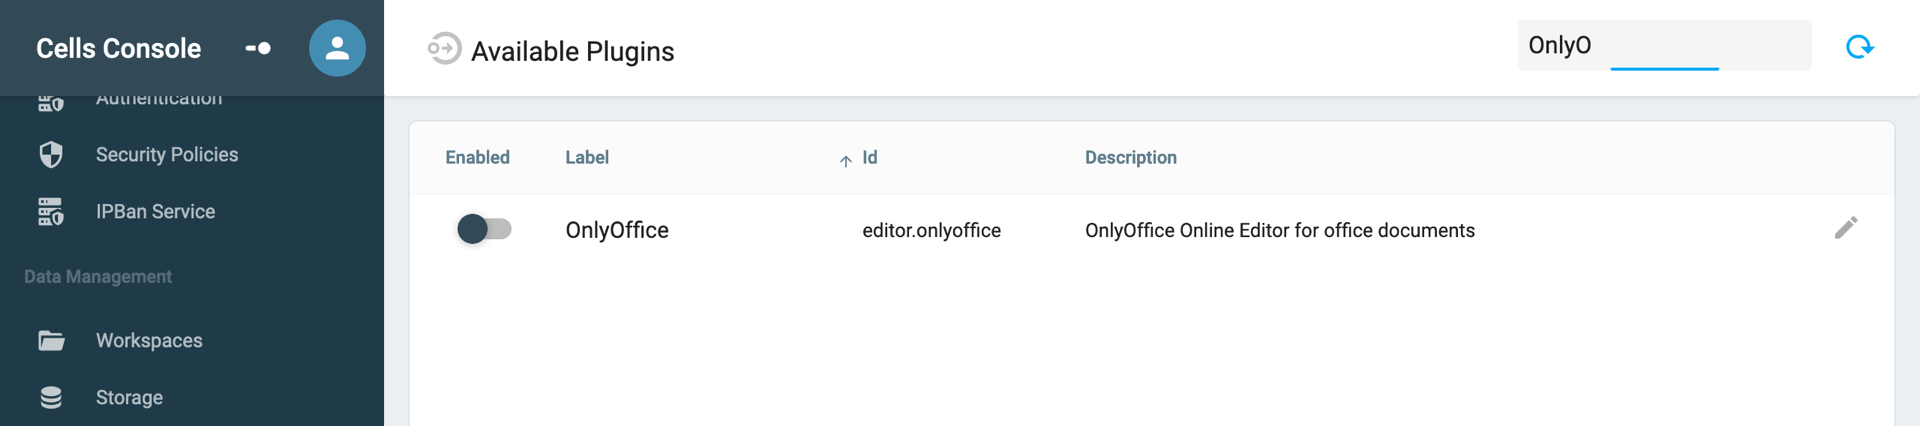
To enable the plugin in the Cells Admin Console, go to Application parameters > Available Plugins > Only Office, then configure following parameters:
- Only office TLS:
falsein our simple example. Enable this and configure the service accordingly if you want to secure communication between ONLYOFFICE and Pydio. - Only office Host:
<host where ONLYOFFICE is running> - Only office Port:
<ONLYOFFICE instance port>, we commonly use9980
Start editing documents
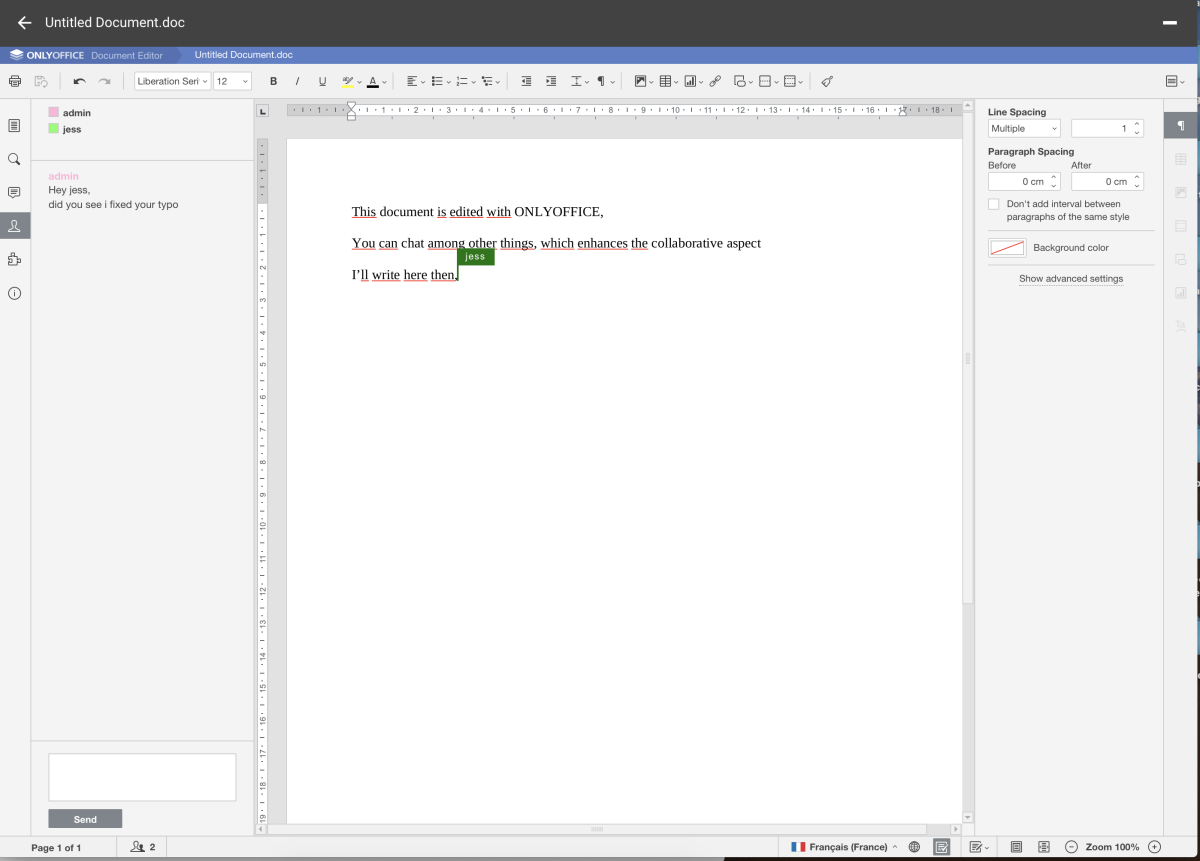
Now you can edit all of your docs, presentations and more easily: double-click on a supported file to open the ONLYOFFICE editor without leaving the Pydio Cells website.
Troubleshooting
Logs
ONLYOFFICE’s container logs can be accessed with:
docker logs -f <ONLYOFFICE container ID>
JWT Token Error
After upgrading ONLYOFFICE to version >= 7.2, you may encounter a problem with the security token:
when trying to open a document, you see an error popup with a Json WebToken Error or similar. If you do not already pass the JWT_ENABLED=false environment variable at startup, you can disable this via the configuration file.
- Edit the ONLYOFFICE configuration file that can be found at:
/etc/onlyoffice/documentserver/local.json
- Set all 3 values of token parameters to "false"
{
  "services": {
    "CoAuthoring": {
      "token": {
        "enable": {
          "request": {
            "inbox": false,
            "outbox": false
          },
          "browser": false
        },
- Restart the service. If you are using the ONLYOFFICE docker image, the easiest way is to restart the services while still inside the image:
supervisorctl restart all
Note: if you are in a private LAN with a host that has private IP you might fail to open documents in Cells and get this error:
Error: DNS lookup 10.X.X.X(family:4, host:files.example.com) is not allowed. Because, It is private IP address.
In such case, the workaround is to enable private IPs, add this to the service configuration:
  "CoAuthoring": {
    "request-filtering-agent": {
      "allowPrivateIPAddress": true,
      "allowMetaIPAddress": true
    },
    ...
  }
You can find more info on this in the ONLYOFFICE knowledge base.
Changes seems to be missed after save
We have noticed that documents are only pushed back to Pydio Cells, when everybody closes the opened document. This can lead to nasty behaviour and data loss.
You should configure your docker image manually to workaround this (for further details, please refer to the ONLYOFFICE online documentation) by performing the following:
- Ssh to the target server
# Retrieve the id of the correct container
$ docker ps
CONTAINER ID....
c263411ad1d0       onlyoffice/documentserver
- Log into the container
docker exec -it c2 /bin/bash

# edit local.json file
nano /etc/onlyoffice/documentserver/local.json
# add this under services/CoAuthoring
    "autoAssembly": {
        "enable": true,
        "interval": "5m"
     },

# save, exit
- Restart the container (or the ONLYOFFICE services while you are still inside the container see above) and you should be good to go.
For the record, the begining of the configuration file should then look like this:
{
 "services": {
   "CoAuthoring": {
     "autoAssembly": {
       "enable": true,
       "interval": "5m"
     },
     "sql": {
     ...
You can validate that your change has been successful by leaving a modified ONLYOFFICE document opened in a tab and check (even better with another user) that the modification date of the corresponding file changes.
Back to top